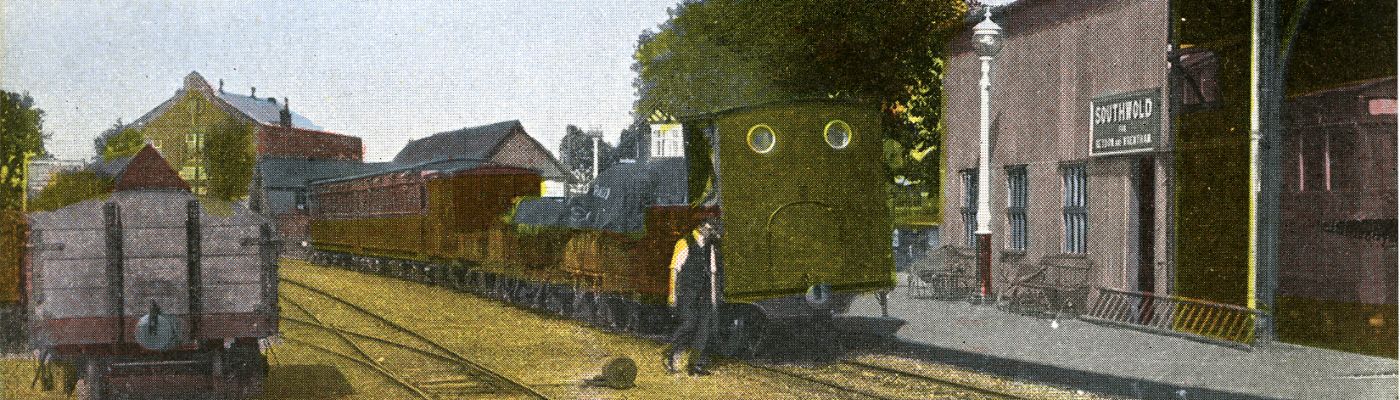
As I mentioned in my previous posts, the lot of the Stationmaster at Santa Halt is not necessarily a happy one, thanks to the arctic blast that plays around his extremities- a piercing, searching, biting cold, to quote Charles Dickens. Whilst appropriate to the season, Dickens fails to mention that it’s not a good way to retain stationmasters, and so last year we decided to do something about it. The limitation here was that whatever it was we did about it, it had to be capable of being put up and de-mounted every year (or, if you’re below the age of 10, magicked into existence just for Christmas) and stored for the rest of the year- which in turn, meant it had to be light and portable, as well as being warm and robust enough to withstand the weather. These alone are a challenging set of criteria, but when you factor into that the idea that it should be attractive and contribute positively to Santa Halt, should acommodate a stationmaster significantly in excess of 6′ without crouching and (because I’m tight) cost as little as possible, it becomes even more of a challenge.
Now, those who have had the misfortune to work with me will acknowledge that I can be somewhat fussy when it comes to how things look- in my opinion to precisely the right extent, although your mileage may vary. I also had some time to think about the project- always a bad idea- and so came up with a drawing aforethought, which is not normally my modus operandi..
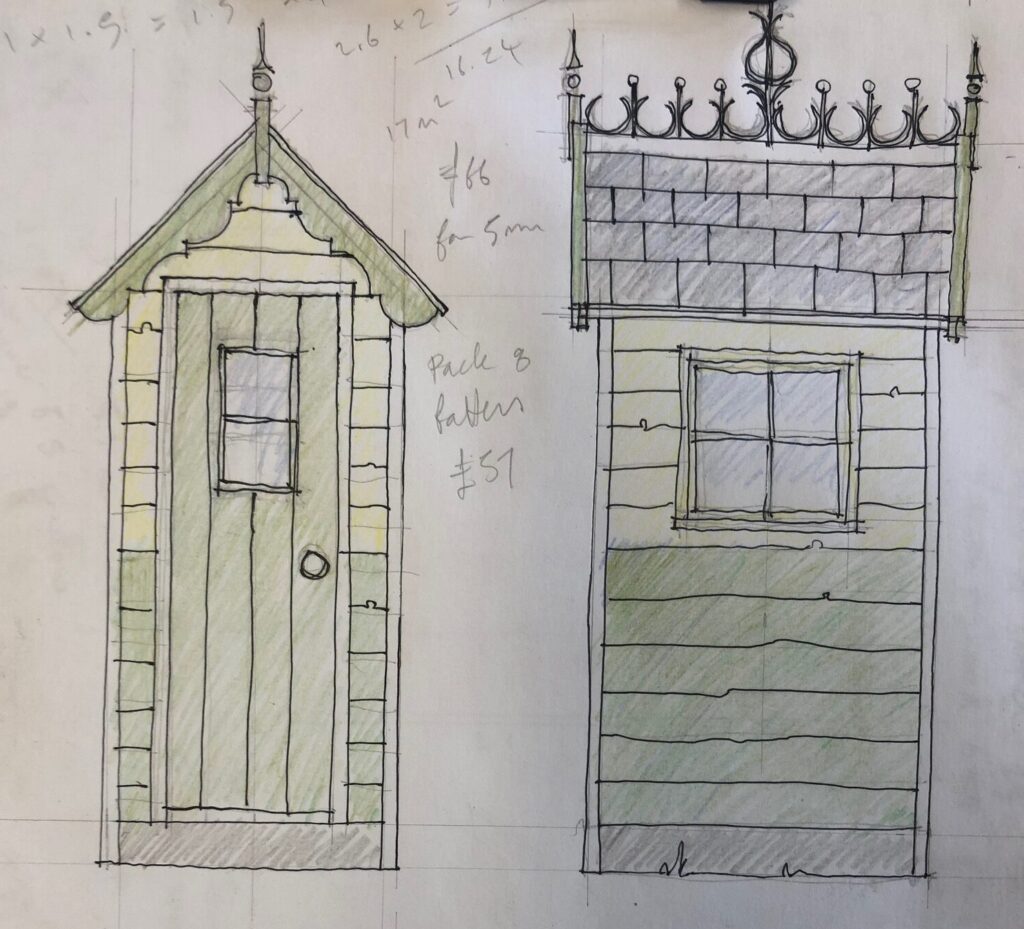
..which is probably just as well, as it clearly leads to me over-complicating matters.
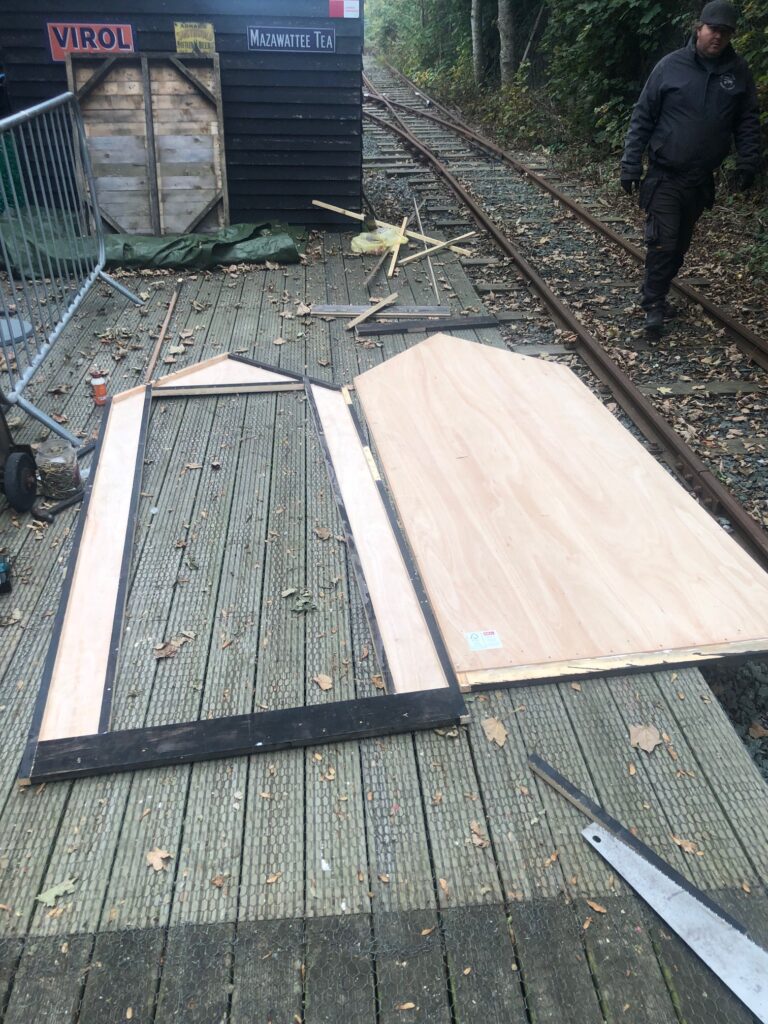
The general idea was that the hut could be made in panels, each of which would be light enough for one person to lift (we just about managed this) and would be quick and simple to erect, whilst still being strong and rigid. (We certainly achieved the latter, and it’s not too difficult to put up, provided you’ve done it before!) The whole thing was planned around a floor that would be made out of a pallet, giving us internal dimensions of 1000 x 1200mm. In the end we had to make a pallet-sized floor from scratch, but out of reclaimed pallet timber, so no great loss there!
To trade off lightness for rigidity, we decided to build each wall as a hollow stressed-skin structure, with an outer layer of 5mm plywood and an inner layer of 3mm fibreboard, glued together with 1″x 1″ framing for rigidity. Unfortunately this invoked my bete noir, which is buying new material- 2 sheets of fibreboard and 5- yes, 5- sheets of plywood. I had intended to buy battens as well, but in the end we managed to round up quite a stock of odds and ends just under an inch that we could rip down to square. And we ended up ripping down a surprising amount- there must be close on 30 metre’s worth of 20mm square in there, so I’m glad we didn’t end up paying for it.
A six-inch board was kept along the bottom edge of each panel to give us a means of bolting the sides to the base, whilst the edges of the panels were fitted with flush hinges from which the pins had been driven out- this gave us a means of quickly joining the corners together with removable pins, which turned out to be trickier than it sounds, but still worked quite well once Russ had fabricated some L-shaped ones, making a surprisingly rigid joint.
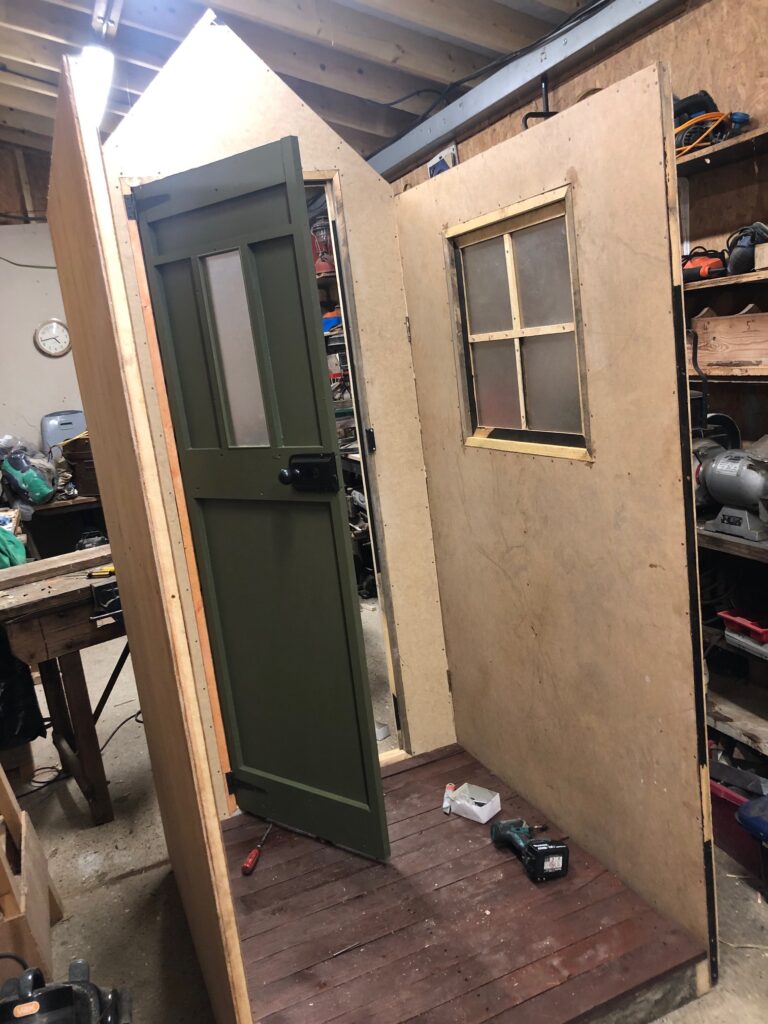
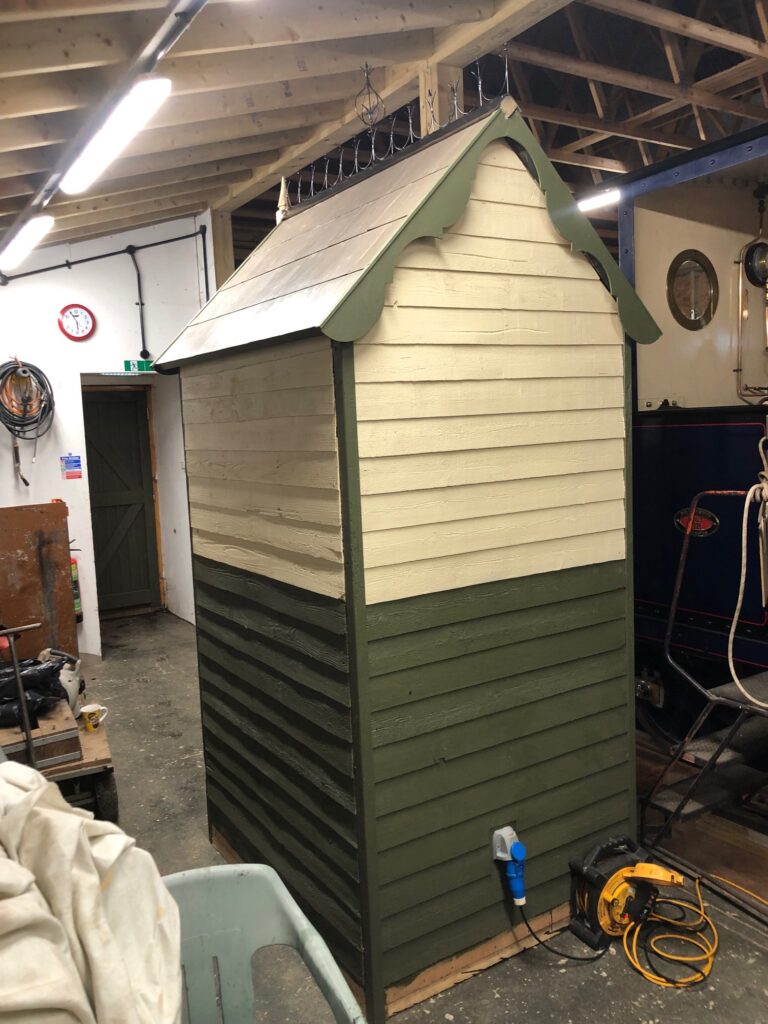
The panels are two gable ends, one with the door in; and two sides, one with the window in, plus two halves of the roof. These were quite straightforward to make, but once you started fitting out the details like windows and doors, it became trickier- especially as weight had to be considered at all times. I was well on my way to making a door that would have been far too heavy and difficult to make, when Russ pointed out I could just use the bit of plywood that we’d cut out of the hole in the first place and frame it up. He was right- something I had to acknowledge at more than one juncture during the huttage- and so Robin and I devised a scheme for cutting shallow slots in the face of the ply to make it look like planks. Result? A very nice, light door. Some ancient reclaimed door furniture, scraped, cleaned and painted by Robin, finished it off and looked suitably Railway-like. The window was built by Russ, again out of rubbish, and a piece of frosted acrylic- no glass of course, as the thing needs to be moved about..
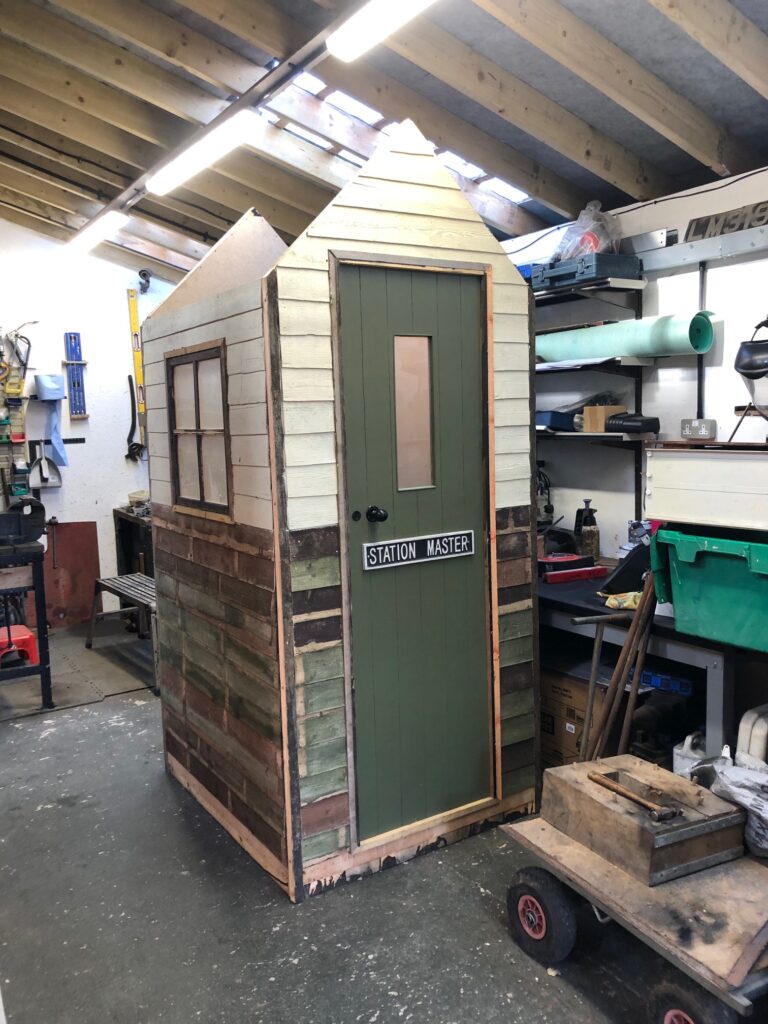
Russ also proved to be something of a trooper when it came to the weatherboarding. I felt it was important visually to clad the outside of the hut, but the biggest arguments against doing so were a) the immense cost of cladding and b) the amount of weight we would be adding by doing it. My plan to “solve” both of these self-inflicted problems was to dismantle a number of discarded fence panels that I had scrounged and use the super-thin boards to save weight. Russ and I stripped down a number of these panels, giving us a large quantity of boards, of which at least 30% were too rotten, or too wormy, or too battered, or too warped to use. Those that were good enough varied wildly in dimensions, and so it required quite a bit of fiddling about to cut them to length and fit them. Rather than tell me where to put my rubbishy old planks, we ploughed through a marathon session of weatherboarding, which made the whole thing look considerably worse- at least, until the paint started to go on.
The next step was, of course, the roof- and of course, this had to be made harder than necessary for appearances’ sake. The roof itself was simple enough- two sheets of plywood with inch square purlins and reinforcing at the ends- but of course, we cut some decorative bargeboards to go on the ends, (we drew around a paint tin..) and hid the joint with two finials made for us by John Barber and fixed to the end of the ridge. The plywood was then dosed with several coats of bitumen before being tiled.
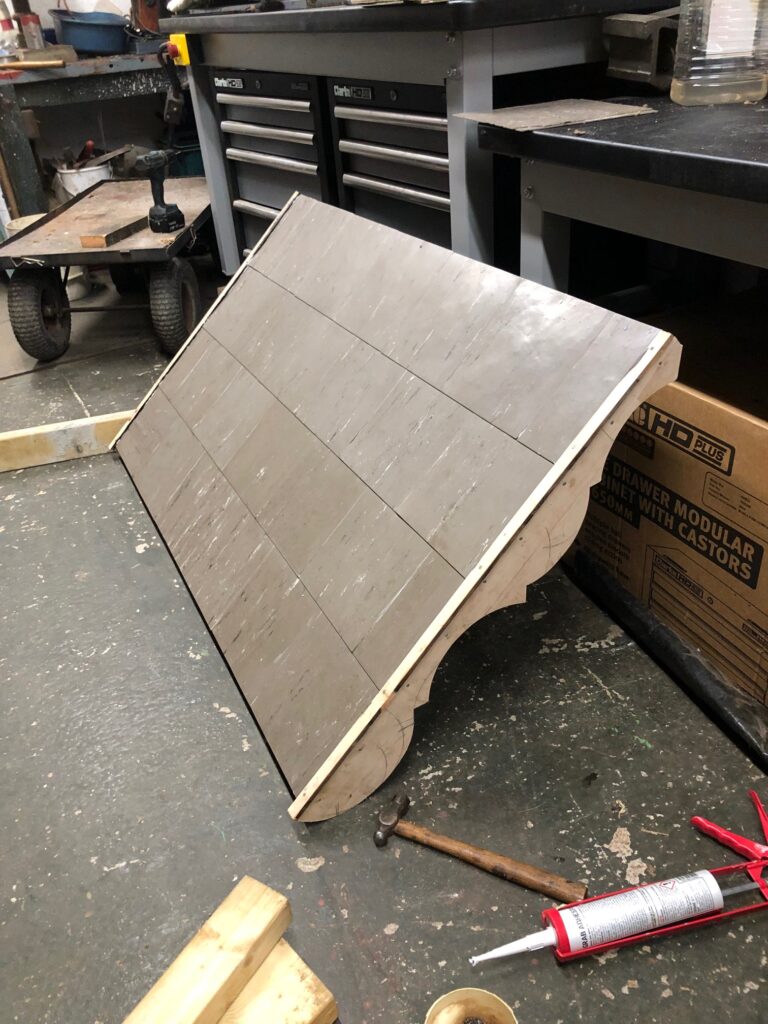
Now, most sensible people would simply cover the roof with a piece of felt- it’s cheap, it’s easy to apply, and it’s waterproof. But of course, it doesn’t look quite Emmett-y enough for a small railway halt, despite the fact that it’ll only be seen in the dark- and i had a large box of old lino floor tiles that I’d carefully harvested from my Mother’s bungalow, so they went on instead. OK, I had to clean every tile down with white spirit, then glue and nail every one into place, with sealant around all four edges to keep the weather out- but they did look the part once they were on. To keep the weather out of the apex I took a sheet of thin steel home and soldered up a ridge capping with a decorative top, just like the drawing..
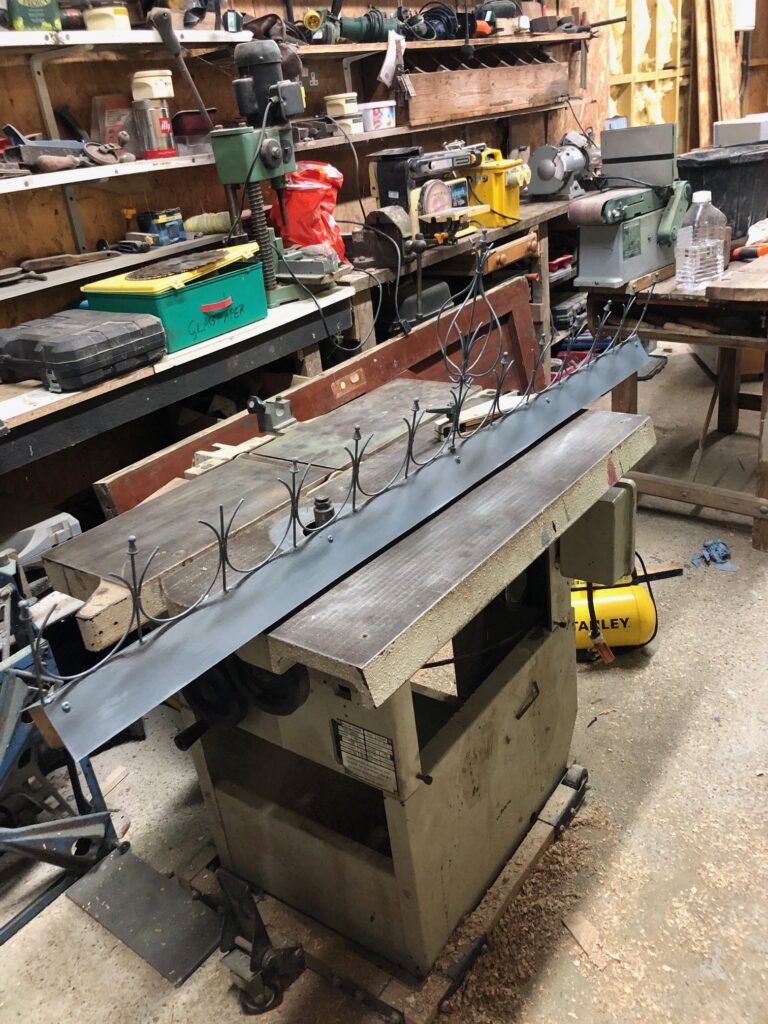
This was made with steel wire salvaged from an old clothes horse and finished off with some wooden board game pieces bored up the middle- waste not, want not! A central bolt allows it to be clamped down on the inside, and also gives a point to suspend the electric light from..
Because it also has electricity- it seemed a bit hopeless to go to all this trouble if it’s still freezing cold (and pitch black) inside. I did consider a paraffin heater, but thought that the combined hazard of carbon monoxide poisoning and setting the hut on fire would discourage stationmasters even more than the cold would, so a small electric hookup was installed in the back panel to supply a small 450w heater and a pendant light.
At this point, we were fairly confident that it would go up ok, come down ok, and be warm- but whether it would keep the weather out and stay upright in a stout breeze was another matter. The latter we addressed by bolting the walls to the base with four long eyebolts, the eyes of which protruded around the bottom when tightened up, allowing us to drive steel stakes through into the ground. We probably overdid this slightly- four 3′ long stakes driven in up to their heads- but despite some rather vigorous wind in the days after we put it up, it didn’t move an inch. It also (mostly) kept the rain out, but as a temporary structure it held up well, and looked the part.
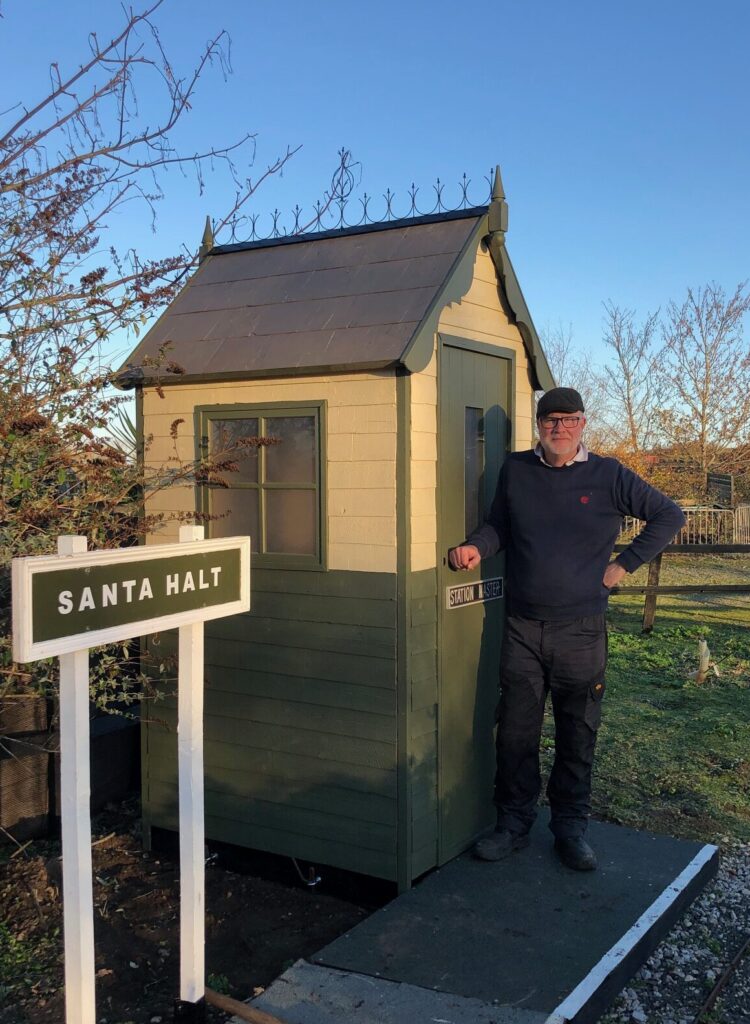
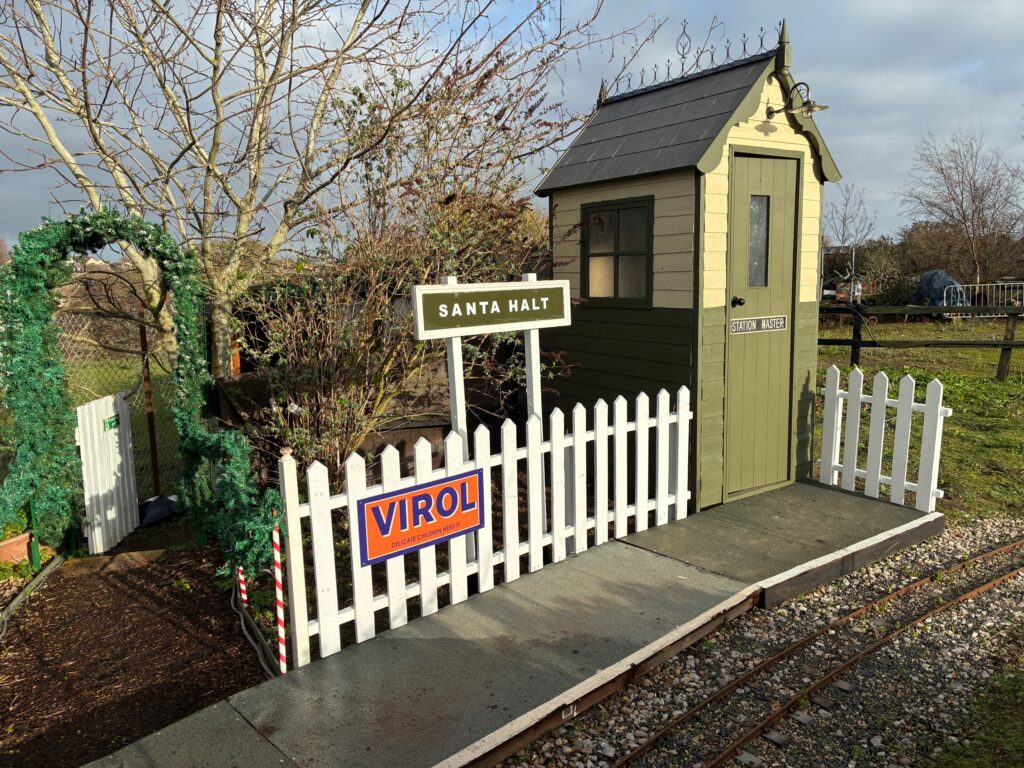
And it performed its intended role, keeping Nick sheltered and warm, and looking charming lit up at night- even if you could barely see the tiles, and the frilly bit on top, etc, etc.. It also gained a cast iron ‘Stationmaster’ sign on the door, and a rechargeable bracket light above- believe it or not, also made from bits of the defunct clothes-horse. And it all still packs away (reasonably) compactly, ready for another year..
Really though, the lesson here is that I should stop having good ideas- this turned out to be far more work than I had anticipated, and without a great deal of help from Russ and Robin, who bore the brunt of it with good grace- and Whisk and John Barber, who both graciously helped out as well- I don’t think it would have got done in time, even though we started in very early October. I’ve promised all concerned that next year I won’t be having any major ‘good ideas’, so all should be relatively straightforward. Sadly, I think I might be failing in that endeavour already..